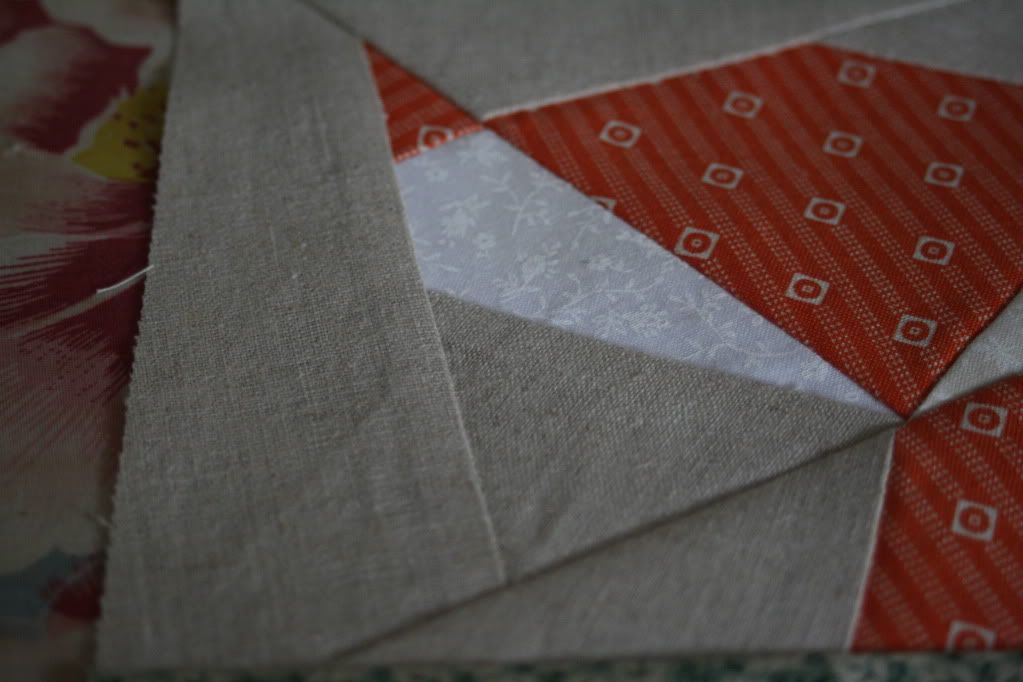
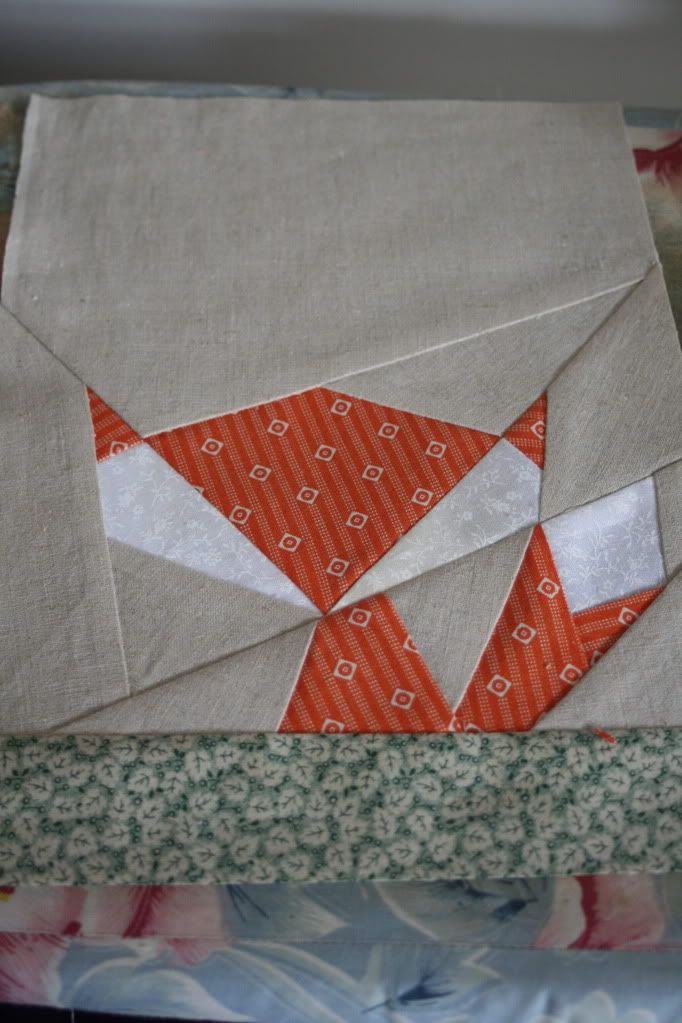
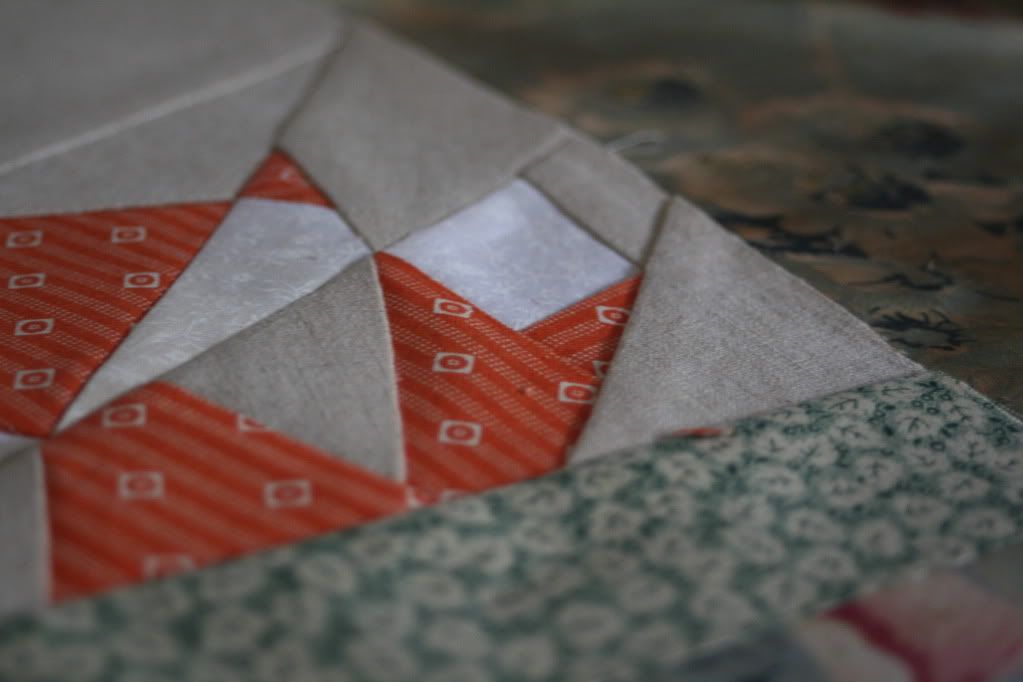
I bought this Super Cute paper piecing pattern the other day and decided that since I am going to be very busy at work over the next month I would get stuck into it today.
I have only done paper piecing once before so I had to get my head around putting all the fabric in the right spot and on the right angles but it was really rather easy and quite quick.
I have to get on with the cleaning and shopping now but thought I would pop in here with some pics of the top finished. I can't wait to sit down and stitch on the eyes and nose and put it all together.
Mr Fox was easy to do but how long will it take me to finish??????????? I have a started quilt blocks pile that is getting bigger.
Pattern was from Artisania and she has some gorgeous patterns and some great tutorials, go check it out!
Cheers SUZ
Tuesday 29 May 2012
Saturday 26 May 2012
The Procrastinator......
Well I thought it was about time I made an appearance. I would be the middle disorganised sister that seems to be procrastinating a little too much lately. Perhaps it is due to us recently moving another house next to ours to join together with ours and me spending all my time in the new half next to the fire and not doing all the things I should be doing in the old half (which is freezing and just depressing me at the moment.)
Anyway back to my introduction, as I mentioned I am the middle sister and I can't seem to make up my mind which craft I enjoy and therefore seem to try everything and not manage to get much finished. I am hoping this will change now that I actually have room to move and will eventually have a mostly dedicated crafting area. I currently have several sewing projects on my list, always some scrapbooking that I would like to do, renovations and decorating that I must get underway, recipes that I would like to try and I recently discovered that I like attempting novelty cakes. No wonder I never seem to finish anything hehe.
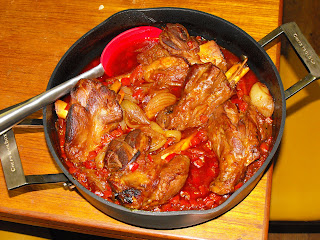
Anyway in honour of the weather finally changing for us and finally getting some rain (sorry we are farmers and we need the rain), I thought I would share a yummy recipe ideal for this kind of weather.
Now not everyone likes shanks although they seem to have become rather fashionable of late, once considered a cheap meat they are definitely now not as affordable as they once were. Lucky for us, we kill our own meat and therefore I always get shanks. It has taken me a while to get Mr. Farmer to come around to shanks. He always referred to them as the dog food, and I guess when I first started cooking them I use to just boil them with a few aromatics over a slow heat until they were nearly falling apart and serve them with a bit of white sauce. Kinda bland now that I look back but I always liked them. The following recipe however is anything but bland and I have managed to convince Mr Farmer that they are worthy (now to convince him to keep the liver for me, won't hold my breath).
ITALIAN STYLE LAMB SHANKS
Preparation: 20 mins
Cooking: 2 1/2 hours
Serves: 6
Keeps: 3 days in refrigerator, covered
12 French shallots, peeled
4 cloves garlic
1 tablespoon fresh thyme or 1 teaspoon dried
1 teaspoon paprika
1 cup red wine
1 cup water
1 tablespoon vegemite
2 tablespoon tomato paste
400g can tomatoes
1 red capsicum
1 yellow capsicum
Heat Roaster over medium heat for 3 minutes
Add oil and brown lamb in 2 batches. Set meat aside.
Reduce heat under pan, add shallots and cook, covered, for 3 minutes.
Add the remaining ingredients and cook, stirring occasionally, for 5 minutes.
Return the shanks to the pan and coat with the sauce.
Cover and place in the oven to cook for 2 hours. If you can manage 3 hours all the better.
Serve with mashed potato.
Chefs Tips- - This dish will freeze well for 3 months. - Chicken could replace lamb but you will need to adjust the cooking time to 40 minutes.
Hope you enjoy.
Jen AKA the Farmers Wife
P.S. Mr. Farmer does question how italian they are when they contain vegemite in the recipe hehe.
Anyway back to my introduction, as I mentioned I am the middle sister and I can't seem to make up my mind which craft I enjoy and therefore seem to try everything and not manage to get much finished. I am hoping this will change now that I actually have room to move and will eventually have a mostly dedicated crafting area. I currently have several sewing projects on my list, always some scrapbooking that I would like to do, renovations and decorating that I must get underway, recipes that I would like to try and I recently discovered that I like attempting novelty cakes. No wonder I never seem to finish anything hehe.
Anyway in honour of the weather finally changing for us and finally getting some rain (sorry we are farmers and we need the rain), I thought I would share a yummy recipe ideal for this kind of weather.
Now not everyone likes shanks although they seem to have become rather fashionable of late, once considered a cheap meat they are definitely now not as affordable as they once were. Lucky for us, we kill our own meat and therefore I always get shanks. It has taken me a while to get Mr. Farmer to come around to shanks. He always referred to them as the dog food, and I guess when I first started cooking them I use to just boil them with a few aromatics over a slow heat until they were nearly falling apart and serve them with a bit of white sauce. Kinda bland now that I look back but I always liked them. The following recipe however is anything but bland and I have managed to convince Mr Farmer that they are worthy (now to convince him to keep the liver for me, won't hold my breath).
ITALIAN STYLE LAMB SHANKS
Preparation: 20 mins
Cooking: 2 1/2 hours
Serves: 6
Keeps: 3 days in refrigerator, covered
THE INGREDIENTS
1 tablespoon vegetable oil 6 lamb shanks, trimmed12 French shallots, peeled
4 cloves garlic
1 tablespoon fresh thyme or 1 teaspoon dried
1 teaspoon paprika
1 cup red wine
1 cup water
1 tablespoon vegemite
2 tablespoon tomato paste
400g can tomatoes
1 red capsicum
1 yellow capsicum
THE FUN
Preheat the oven to 180°C for 15 minutes.Heat Roaster over medium heat for 3 minutes
Add oil and brown lamb in 2 batches. Set meat aside.
Reduce heat under pan, add shallots and cook, covered, for 3 minutes.
Add the remaining ingredients and cook, stirring occasionally, for 5 minutes.
Return the shanks to the pan and coat with the sauce.
Cover and place in the oven to cook for 2 hours. If you can manage 3 hours all the better.
Serve with mashed potato.
Chefs Tips- - This dish will freeze well for 3 months. - Chicken could replace lamb but you will need to adjust the cooking time to 40 minutes.
Hope you enjoy.
Jen AKA the Farmers Wife
P.S. Mr. Farmer does question how italian they are when they contain vegemite in the recipe hehe.
Personalised Keyring Tutorial
Last year, I made this keyring for my husband's birthday. I saw the idea in a magazine I borrowed from the library (sorry I can't remember which one) and decided it was the perfect handmade gift for hubby.
I have since made another and decided to do up a quick tutorial for those of you who want to give it a go yourselves.
Black Vinyl (or the colour of your choice)
Photos printed to fit on your keyring
Eyelet for the hole (these usually come in a kit with a tool and instructions)
General sewing supplies
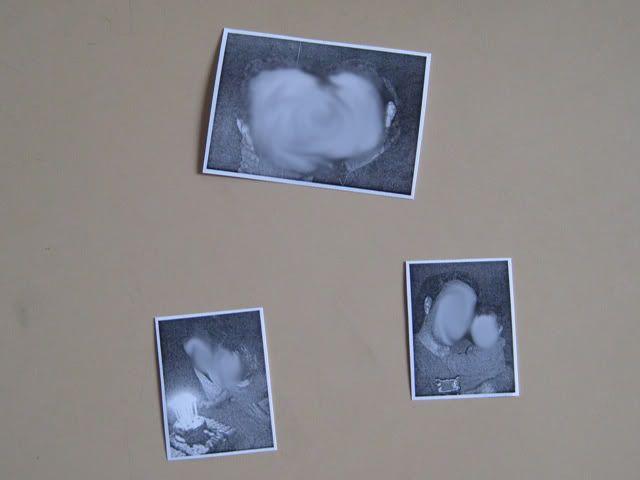
Next you'll need to choose your photos and print them out, making sure they are small enough to fit on the keyring with room to sew around. I just printed my photos at home but you could get them printed professionally if you wanted them a better quality.
Once you have your photo's, use acid free glue to stick them onto the black vinyl to stop them slipping whilst you sew them on. (This is a good stage to let little hands help if they want to!)
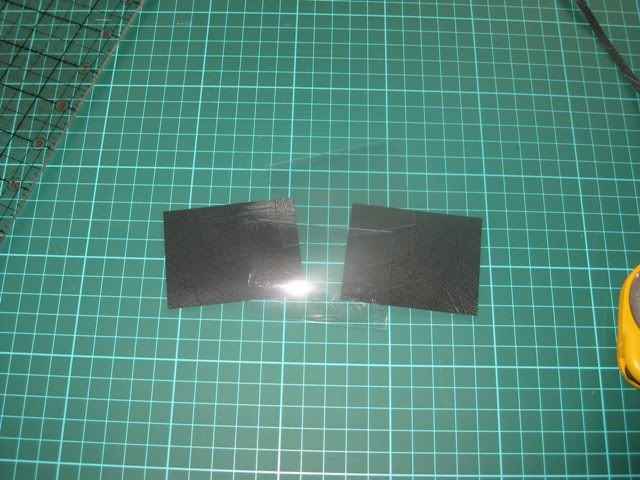
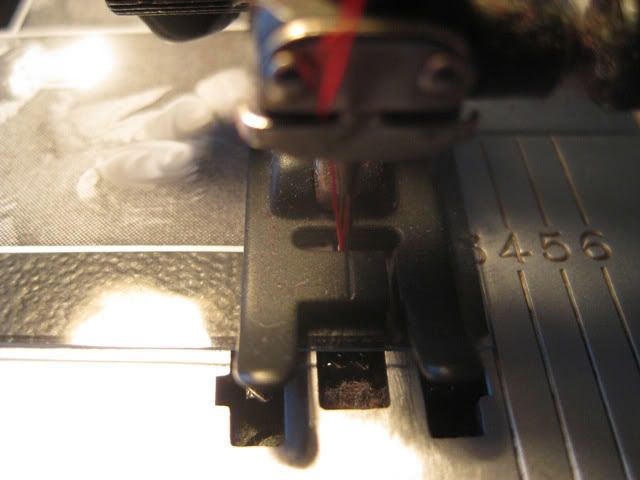
Once you have the photo's in place, you need to take your clear plastic vinyl and lay it on top of each black piece. You are just about ready to start stitching but at this point, I recommend you check the tension and stitch length on your machine. Do this using a scrap of black and clear vinyl placed together and do a few test stitches as I have done here.
Make sure you turn your vinyl over to check the tension on the back and adjust if necessary. You can also change your stitch length at this time if you would like. I set mine at a stitch length of 2. Once you have your machine set up and ready to go, make sure you pull your threads to a fairly long length to begin.
The next thing you need to do is stitch around the photos. To do this, take one side of the keyring (both the black and clear vinyl) making sure it's all lined up and carefully stitch close to the edge of the photos. Don't backstitch when you start and finish sewing, just make sure you leave your threads long enough to tie knots.
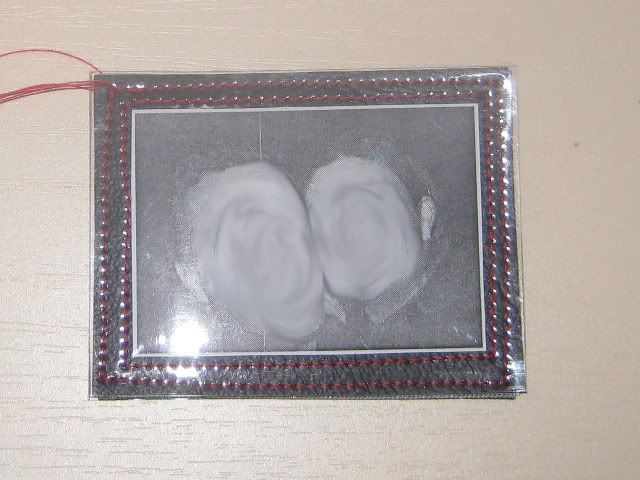
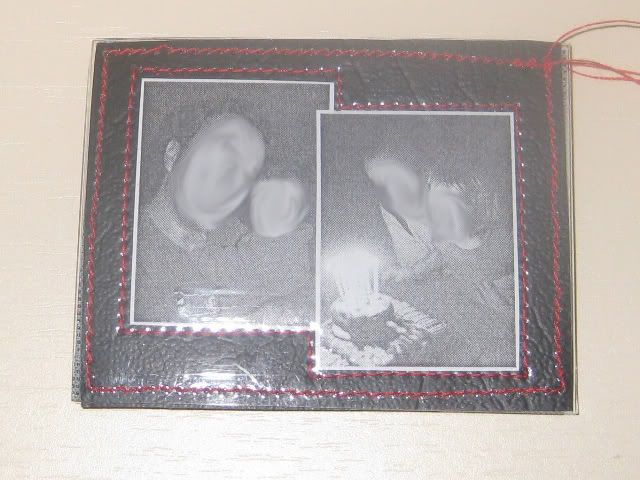
You should now have two sides of your keyring with the photo's stitched in place and long threads still hanging off. You need to flip these over and pull your threads through to the back of each side then tie them in a knot to secure them before cutting them off.
Now you want to take both sides and place them wrong side together.
Line up each side so they are even and then stitch all the way around the outside to secure. (I started and ended my stitching in the corner where the eyelet would go as I thought that it would be less visible.)
Remember, if you do make one of these, please leave a comment as we love to see your creations.
Happy Crafting!
Kat
I have since made another and decided to do up a quick tutorial for those of you who want to give it a go yourselves.
Supplies
Clear VinylBlack Vinyl (or the colour of your choice)
Photos printed to fit on your keyring
Eyelet for the hole (these usually come in a kit with a tool and instructions)
General sewing supplies
Let's Get Creative
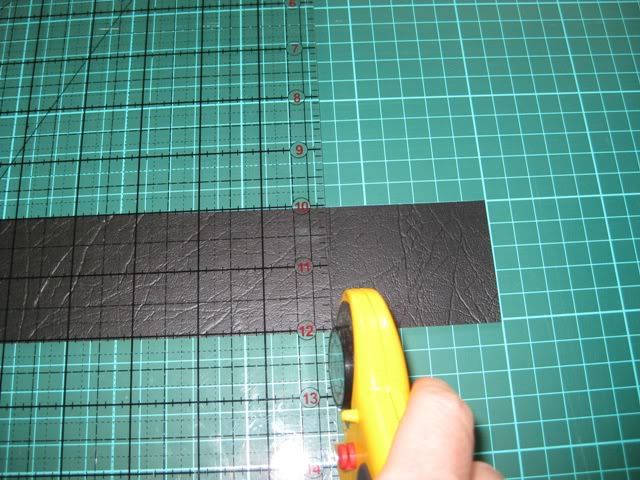
Start by cutting your vinyl. You'll need two black and two clear pieces. I cut mine 2 X 2.5 inches but you can make yours any size you like. If you don't have a rotary cutter you can just use scissors.Once you have your photo's, use acid free glue to stick them onto the black vinyl to stop them slipping whilst you sew them on. (This is a good stage to let little hands help if they want to!)
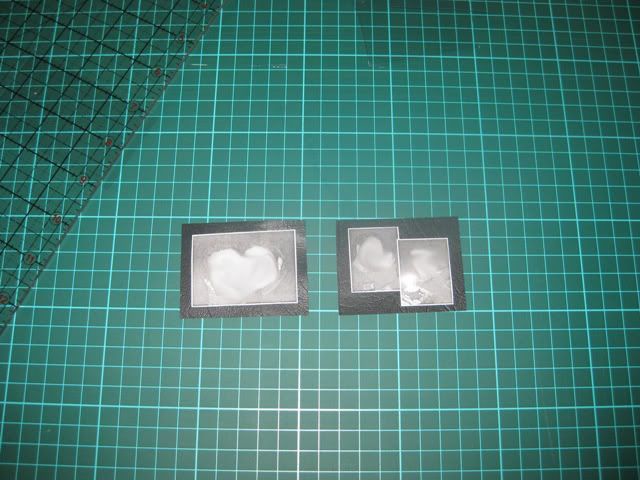
Here are the two black pieces of vinyl with the photo's stuck on. These will eventually come together to form the front and back of the keyring but that's a few steps away just yet.
Make sure you turn your vinyl over to check the tension on the back and adjust if necessary. You can also change your stitch length at this time if you would like. I set mine at a stitch length of 2. Once you have your machine set up and ready to go, make sure you pull your threads to a fairly long length to begin.
The next thing you need to do is stitch around the photos. To do this, take one side of the keyring (both the black and clear vinyl) making sure it's all lined up and carefully stitch close to the edge of the photos. Don't backstitch when you start and finish sewing, just make sure you leave your threads long enough to tie knots.
You should now have two sides of your keyring with the photo's stitched in place and long threads still hanging off. You need to flip these over and pull your threads through to the back of each side then tie them in a knot to secure them before cutting them off.
Now you want to take both sides and place them wrong side together.
Line up each side so they are even and then stitch all the way around the outside to secure. (I started and ended my stitching in the corner where the eyelet would go as I thought that it would be less visible.)
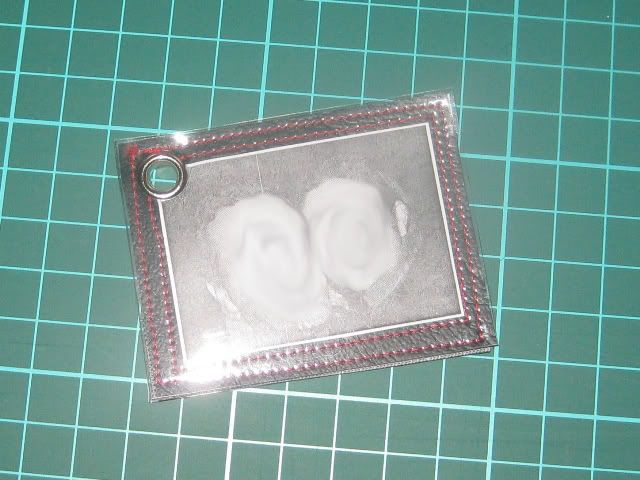
You're almost finished. The next step is to add your eyelet. You will need to punch a hole in your vinyl first to get your eyelet through and then attach following package directions.
You're all done. Now you can give it as a gift to a special loved one or keep it for yourself.
Happy Crafting!
Kat
Thursday 24 May 2012
My Sewing Machine Leg!
Earlier this week, I was busting out the moves with my kids when my knee cap decided it no longer wanted to stay where it was supposed to. After a quick trip in the ambulance and a visit to emergency, I came home with a rather interesting new accessory!
The worst part of all this is that it's my sewing machine leg! Looks like no sewing for me over the next couple of weeks. I can't bend my leg at this stage to even sit comfortably at the machine. I think I'll have to leave any sewing to my sisters. I have a tutorial waiting to go on here so I might have to work on that soon.
Happy crafting!
Kat
Wednesday 23 May 2012
More Star blocks
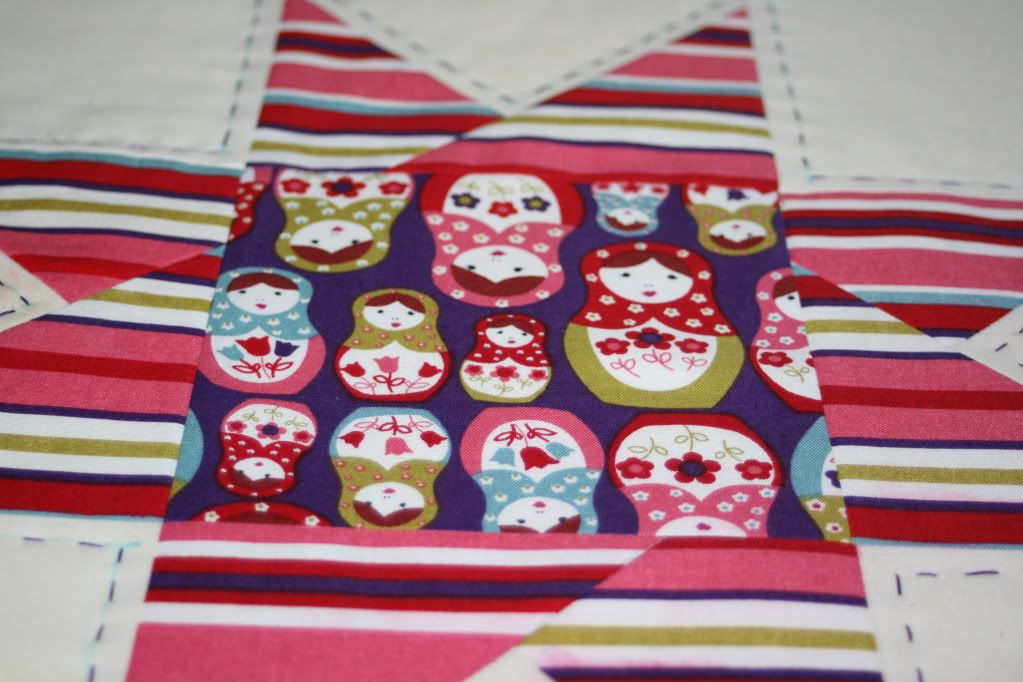
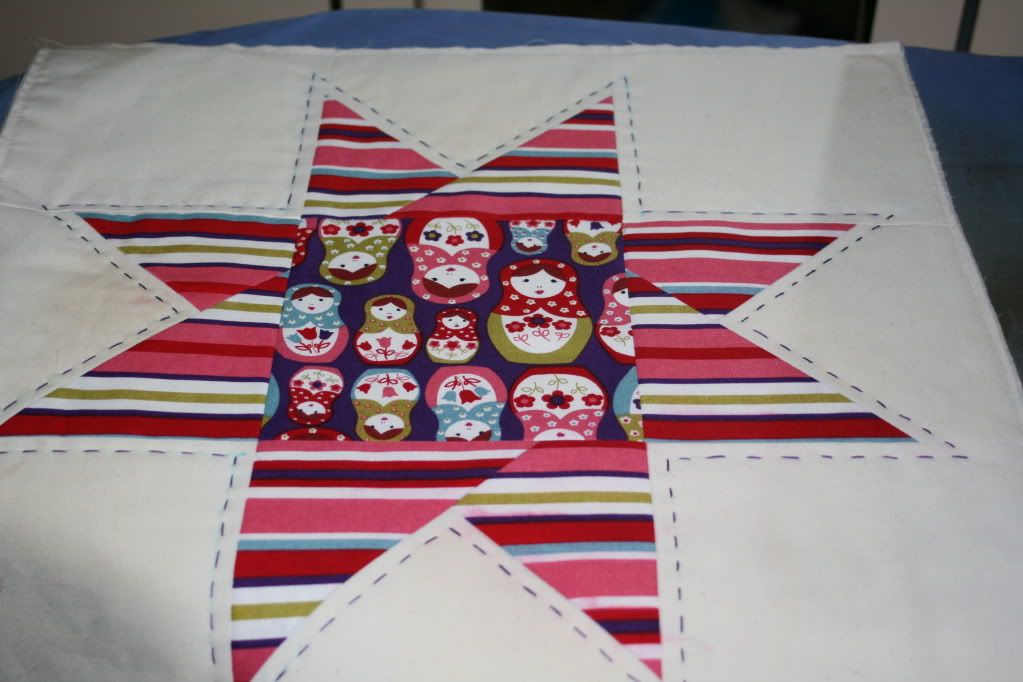
I picked up this fabric as a flat fat from Spotlight and thought it would work perfect as a star block.
This time I cut my squares 6 inches (instead of 4 inches) to make the complete block perfect for a pillow size.
I still have to finish off the pillow but the top is complete and I have a nice purple to go on the back as the little girl I intend on giving this to LOVES purple.
I love how it has come out with the hand quilting around the edge and since it was a smaller size I used fusible batting which means quick and easy and no pinning.
Will get back in with some more pictures of the finished product, as soon as I finish it.
Cheers Suz
Wednesday 16 May 2012
Quilty Life Here
Well I thought I would jump in and get my first post up on this blog. After having a blog for years and never updating it on a regular basis my sister came up with this idea and I thought great, cause at least one of us will be posting for all to see.
I am a mum of two boys and we love all the crafty things you can think of. My only dilemma is there are no girls. I am the only female in a land of boys, so I have no girly girls that need pretty dresses and pink quilts. I am lucky, however, to have 5 nieces so I can make girly things and use them as my excuse.
I mainly quilt these days and after working mothers day I decided to come home and sew, or should I say quilt. I have many projects on the go at the moment and there are four quilts in that UFO pile. Two queen size, one single and one baby quilt. So what else do you do but cruise blogs for ideas and start another few quilts to add to the pile?
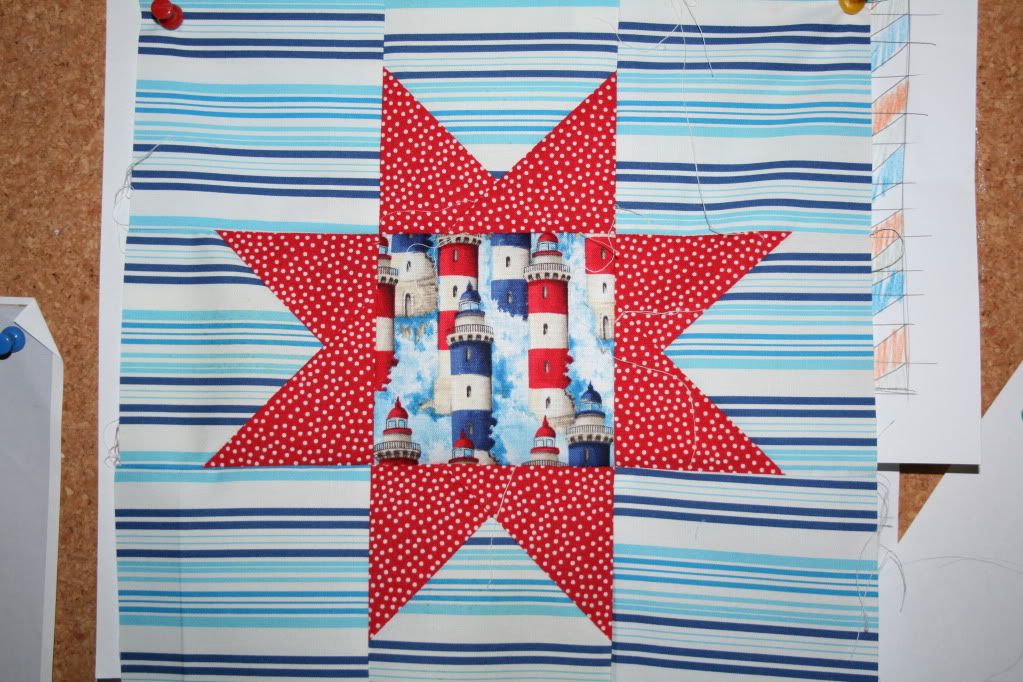
This blog is one I love to view and get inspiration from as many times as I can. I Love it. So on mothers day I sat down and made two blocks from this tutorial. All I can say is wow. The tutorial was so easy to follow and I am super happy with my blocks.
I used a fat quarter that I picked up from spotlight for this one and some other fabrics in my stash.
This second one is my fav. I used Heather Ross fabric that I have and love. I have since picked up more fabric to make this into a lap quilt and can't wait to get started.
Anyway better get onto these new blocks so I have some more pictures to show.
Suz
Tuesday 15 May 2012
Kids Wearable Art
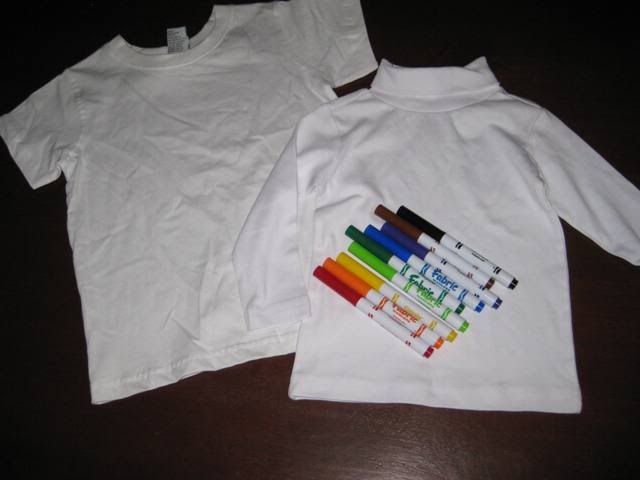
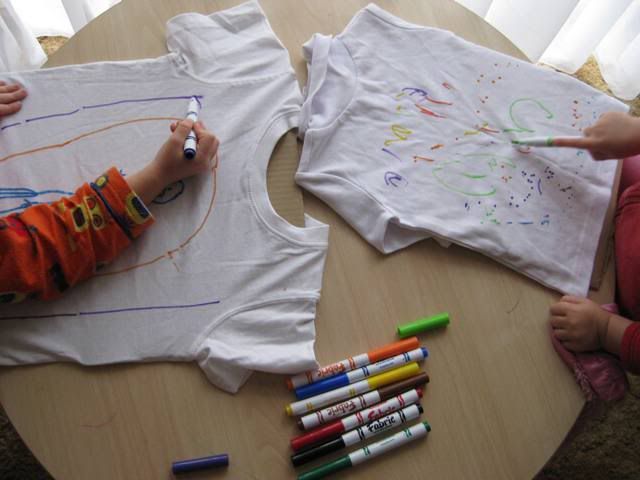
Take some plain t-shirts or tops (these ones cost me $1 each in the end of season clearance rack) and some fabric markers.
Place some pieces of cardboard inside the shirts to stop the markers going through. Now let your kids loose.
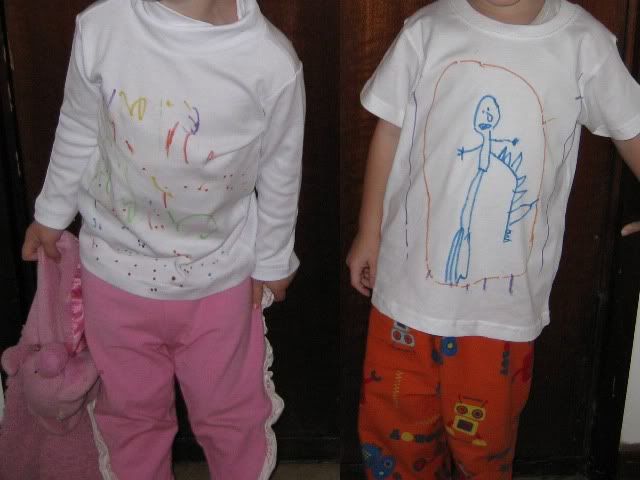
Set the ink according to the package directions and you have some great new shirts your kids will be proud to wear and call their own.
Happy crafting!
Kat
Place some pieces of cardboard inside the shirts to stop the markers going through. Now let your kids loose.
Set the ink according to the package directions and you have some great new shirts your kids will be proud to wear and call their own.
Kat
Wednesday 9 May 2012
Blogging Together
The time has come to start a blog together.
We're three sisters who love being creative and enjoy sharing that creativity with each other. What better way to do that than with a blog.
Each of us have our own blogs but quite frankly we're hopeless at keeping them updated. What better way to solve that problem than to start blogging together. We hope you'll join us for the ride and perhaps be inspired by something we do.
Happy reading.
Suz, Jen and Kat.
Subscribe to:
Posts (Atom)
